
The BBQuill journal
Pork Butt in an Electric Smoker: Plan the Cook, Not Just the Clock
Plan an electric-smoker pork butt with useful checkpoints, a sensible wrap decision, and a measured hot hold—without promising a finish time.
An electric smoker makes steady heat easier. It does not make an eight-pound pork butt finish on command. The useful plan is to leave room for the cook, decide what to do when the temperature slows down, and have a safe place to hold the meat if it finishes early.
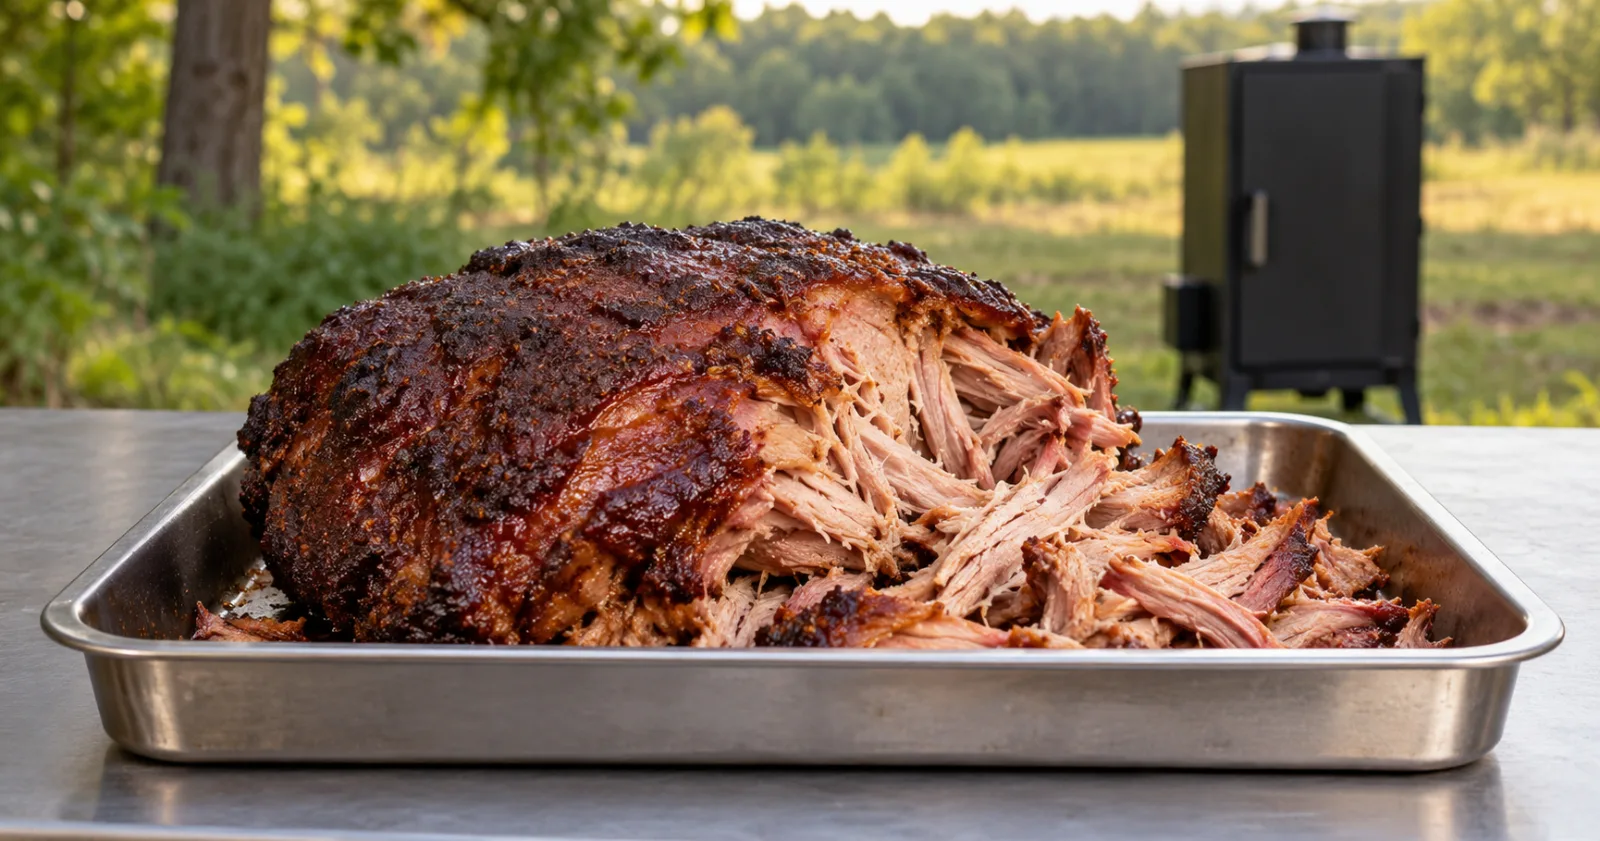
For pulled pork, start checking tenderness around 195°F internal. Many shoulders finish somewhere around 195–205°F, but the probe should slide easily into several meaty spots before you pull it. That is a texture checkpoint, not a food-safety rule. ThermoWorks explains the higher finishing range for pork shoulder.
Build the schedule before you season
Choose a recipe written for your smoker and a similar-size shoulder. Keep its cooking estimate separate from the rest and serving time. A recipe's total cook usually already includes the stall; adding a second stall allowance can make your schedule confusing.
Here is an example of scheduling arithmetic, not a prediction for an eight-pound butt. Suppose your recipe or previous cook suggests 12 hours on the smoker:
Planning step | Example |
|---|---|
Serve dinner | 6:00 p.m. |
Allow for pulling and serving | 30 minutes |
Reserve a monitored hot-hold window | 2 hours |
Aim to finish cooking | 3:30 p.m. |
Subtract the assumed 12-hour cook | Meat on at 3:30 a.m. |
Preheat and setup | Before the meat goes on |
If that start time does not work, choose a different cooking plan before guests are on their way. Our guide to back-scheduling a BBQ meal helps account for sides and cooker space too.
Get the smoker ready for a long cook
Use the manufacturer's instructions for outdoor placement, power, preheating, the water pan and wood. “Electric smoker” covers different designs; a chip tray, a separate smoke generator and an electric cabinet that uses wood chunks do not share one loading routine.
For example, Masterbuilt's electric-smoker guidance specifies how its chip loaders and trays should be used. Follow your model's quantity and refill instructions instead of stuffing the tray or opening the door on a fixed internet schedule.
A 225–250°F cooking plan is a reasonable low-and-slow starting point when your recipe and cooker support it. Verify the air temperature near the food with a suitable grate probe. USDA's smoking guidance calls for monitoring smoker air temperature within 225–300°F throughout cooking.
Season the pork while it is cold. If you salt it ahead, keep it refrigerated and account for salt already in the rub or an enhanced meat product. There is no need to turn the prep into a precise overnight ritual before you have learned how your smoker cooks.
Cook by checkpoints
Place the food probe in a thick meaty section, away from bone and large fat pockets. Keep a separate reading for the cooker. One answers what the food is doing; the other tells you whether the smoker is delivering the heat you intended.
Then use these checkpoints:
After loading: make sure the cooker recovers and the food probe is seated properly.
As the bark develops: look for the color and surface you want. Avoid opening the door repeatedly just to watch it happen.
When the internal reading slows: confirm the cooker is still hot before calling it a stall.
Near the finishing range: check tenderness in several places, not just at the leave-in probe.
Smoke flavor does not switch off at a universal internal temperature. Add wood according to your smoker's instructions and the smoke level you want. A wrapped shoulder is also a different situation from an exposed one; don't keep feeding wood simply because a timer rang.
Wrap for the result you want
If the bark looks good and time is getting tight, wrapping is a useful choice. Foil limits evaporation strongly and usually moves the cook along faster, with softer bark. Plain food-grade butcher paper is more breathable. Leaving the shoulder uncovered favors a firmer surface and a less predictable finish.
None of those choices guarantees that the stall ends in a certain number of minutes. Our stall and wrapping guide explains the tradeoffs. Record when you wrapped and how the bark looked; that makes the next decision easier than remembering only the final temperature.
Pull when the shoulder is tender
Probe several thick sections. If one still feels tight, keep cooking and recheck. A pork shoulder has no brisket-style flat and point to test; you are looking for resistance across the shoulder itself.
USDA's minimum for a whole pork roast is 145°F followed by a three-minute rest. That is the safety floor, and it is much lower than the temperature usually needed for easy-to-shred shoulder. The safe minimum temperature chart and the tenderness check answer different questions.
Hold it by temperature, then write down the result
For a planned hold, use equipment that keeps the cooked pork at 140°F or above, and verify the food temperature. A towel-lined cooler provides insulation, not a guaranteed four-hour safe window. An oven's dial is not proof of the temperature inside it either.
If you are not keeping the pork hot, refrigerate promptly in shallow containers. USDA's leftover guidance sets a two-hour limit at room temperature, or one hour when it is above 90°F.
After dinner, save the few details you will actually use: trimmed weight, smoker setting and measured grate temperature, wrap time, finish temperature, tenderness, hold length, and whether the bark and seasoning worked. BBQuill can keep the readings, wrap and notes with the cook. Even a short note such as “tender, but the foil softened the bark more than we liked” gives the next cook somewhere useful to start.